Guide
The Great AC Swap: A Step-by-Step Look at Installation
_compressed.webp)
What Actually Happens When Your Old AC Is Removed and a New System Installed
How your old ac is removed and new system installed is a multi-step process that most homeowners never get to see — and understanding it can make the whole experience far less stressful.
Here's a quick overview of what happens from start to finish:
- Refrigerant recovery — A certified technician safely removes refrigerant from the old unit using EPA-compliant equipment
- Power disconnection — Electrical supply to both indoor and outdoor components is shut off
- Old system removal — The outdoor condenser and indoor evaporator coil or air handler are disconnected and hauled away
- Site preparation — Ductwork, drainage, and electrical connections are inspected and prepared for the new system
- New system installation — The new outdoor condenser and indoor components are mounted, connected, and sealed
- Testing and commissioning — Refrigerant is charged to spec, airflow is calibrated, and the full system is verified before the technicians leave
If your current AC is over 10 years old, running up your energy bills, or breaking down more than it should, you're likely already thinking about what comes next. The good news is that a full AC replacement — done right — is typically completed in a single day, and the process is more organized than most people expect.
Modern systems can cut cooling costs by 20–50% compared to aging, inefficient units. That's a meaningful difference, especially during the intense Phoenix Valley summers where your AC runs hard for months at a time.
The sections below walk through every phase in detail — from the first tool on-site to the final walkthrough with your technician.

Recognizing the Signs: When to Replace Your System
Before we dive into the nuts and bolts of the installation day, it’s important to know if you actually need a new system. In places like Apache Junction or Mesa, an air conditioner isn't just a luxury; it's a piece of survival equipment.
Most air conditioners have a functional lifespan of 10 to 15 years. If your unit is celebrating its 12th birthday, it is likely reaching the end of its reliable service life. Beyond age, you should look for specific red flags. Are your energy bills spiking even though you haven't changed your cooling habits? Is one bedroom a freezer while the living room feels like a sauna? These are signs of a system that can no longer keep up with the Arizona heat.
We often recommend the $5,000 rule: If the anticipated repair costs over the remaining life of the unit exceed $5,000, or if a single repair costs more than half the price of a new system, replacement is almost always the more cost-effective choice. Furthermore, if your system still uses R-22 refrigerant (often called Freon), you are dealing with a phased-out substance. Repairs involving R-22 are becoming prohibitively expensive because it is no longer produced or imported.
Upgrading to a new system also means moving to modern efficiency standards. As of 2023, the industry shifted to SEER2 ratings, which use more rigorous testing to ensure your unit performs efficiently in real-world conditions. Replacing a decade-old unit with a high-efficiency SEER2 model can save you up to 20% on cooling costs immediately.
For a deeper dive into these indicators, check out our guide on Air Conditioner Replacement Deciding When Its Time or our comparison on When to Repair vs Replace Your HVAC System.
How Your Old AC is Removed and New System Installed: The Preparation Phase
Once you’ve decided to upgrade, the real work begins. The process of how your old ac is removed and new system installed starts with safety and environmental responsibility.
Refrigerant Recovery and Power Shutdown
We don't just "cut the lines." Refrigerant is a regulated substance that can be harmful to the environment if vented into the atmosphere. Our technicians are EPA Section 608 certified, meaning we use specialized recovery machines and cylinders to safely extract every ounce of refrigerant from your old unit.
Simultaneously, we perform a total power shutdown. We disconnect the high-voltage electricity at the outdoor "disconnect box" and shut off the breakers for the indoor air handler. This ensures a safe working environment for our crew and protects your home’s electrical system.
Site Preparation
While we work on the technical side, we also focus on protecting your property. We lay down drop cloths and floor protectors in high-traffic areas. This is also the stage where we pull the necessary mechanical permits. In Arizona, permits and inspections are vital to ensure the installation meets local building codes and safety standards.
How You Can Help
To make the day go as smoothly as possible, we recommend a few simple steps for homeowners:
- Clear the Path: Ensure there is a 3-foot clearance around the indoor air handler (usually in a closet, attic, or garage) and the outdoor condenser.
- Secure Pets: The process involves open doors and some noise; keeping your furry friends in a quiet, secure room is best.
- Move Vehicles: If the outdoor unit is near the driveway, moving cars helps us maneuver heavy equipment safely.
For more details on the logistics, see our comprehensive AC Replacement Guide.
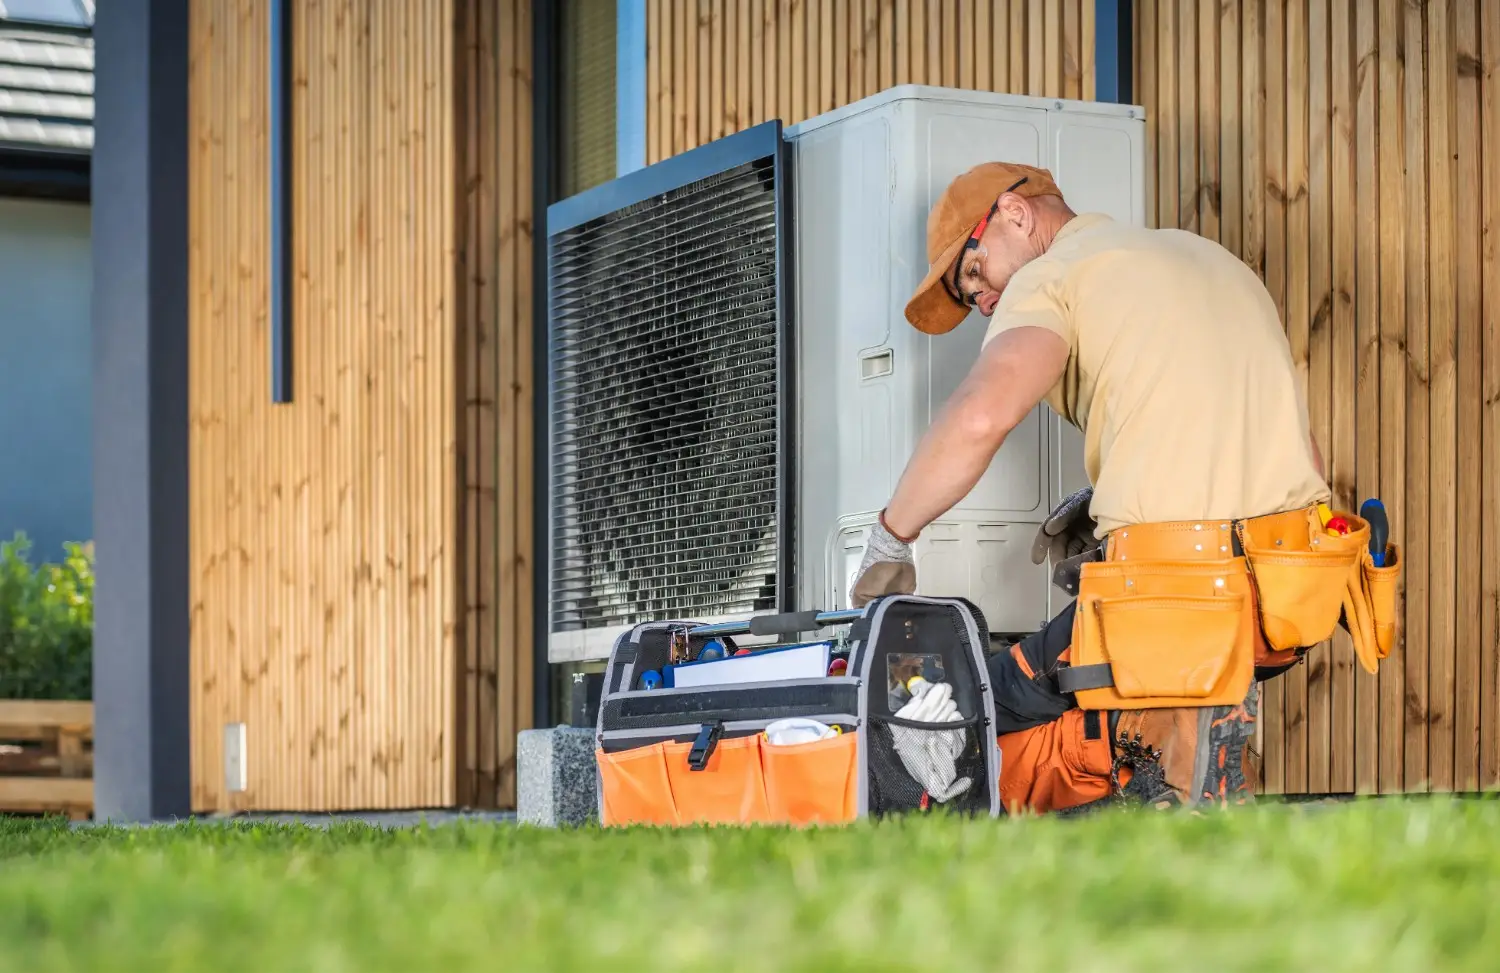
Outdoor Condenser Placement and Securing
The outdoor unit, or condenser, is the workhorse that releases heat from your home. Its placement is critical for long-term performance.
We start by inspecting the existing pad. If the old concrete pad is cracked or unlevel, we install a new, reinforced composite pad. Why does leveling matter? If a condenser is tilted, the oil in the compressor can settle unevenly, leading to premature mechanical failure and unnecessary strain.
We also use vibration isolation pads. these small rubberized blocks sit between the unit and the pad to dampen noise and prevent vibrations from traveling through your home's foundation. In areas like Gilbert or Chandler, where homes are often close together, this keeps both you and your neighbors happy.
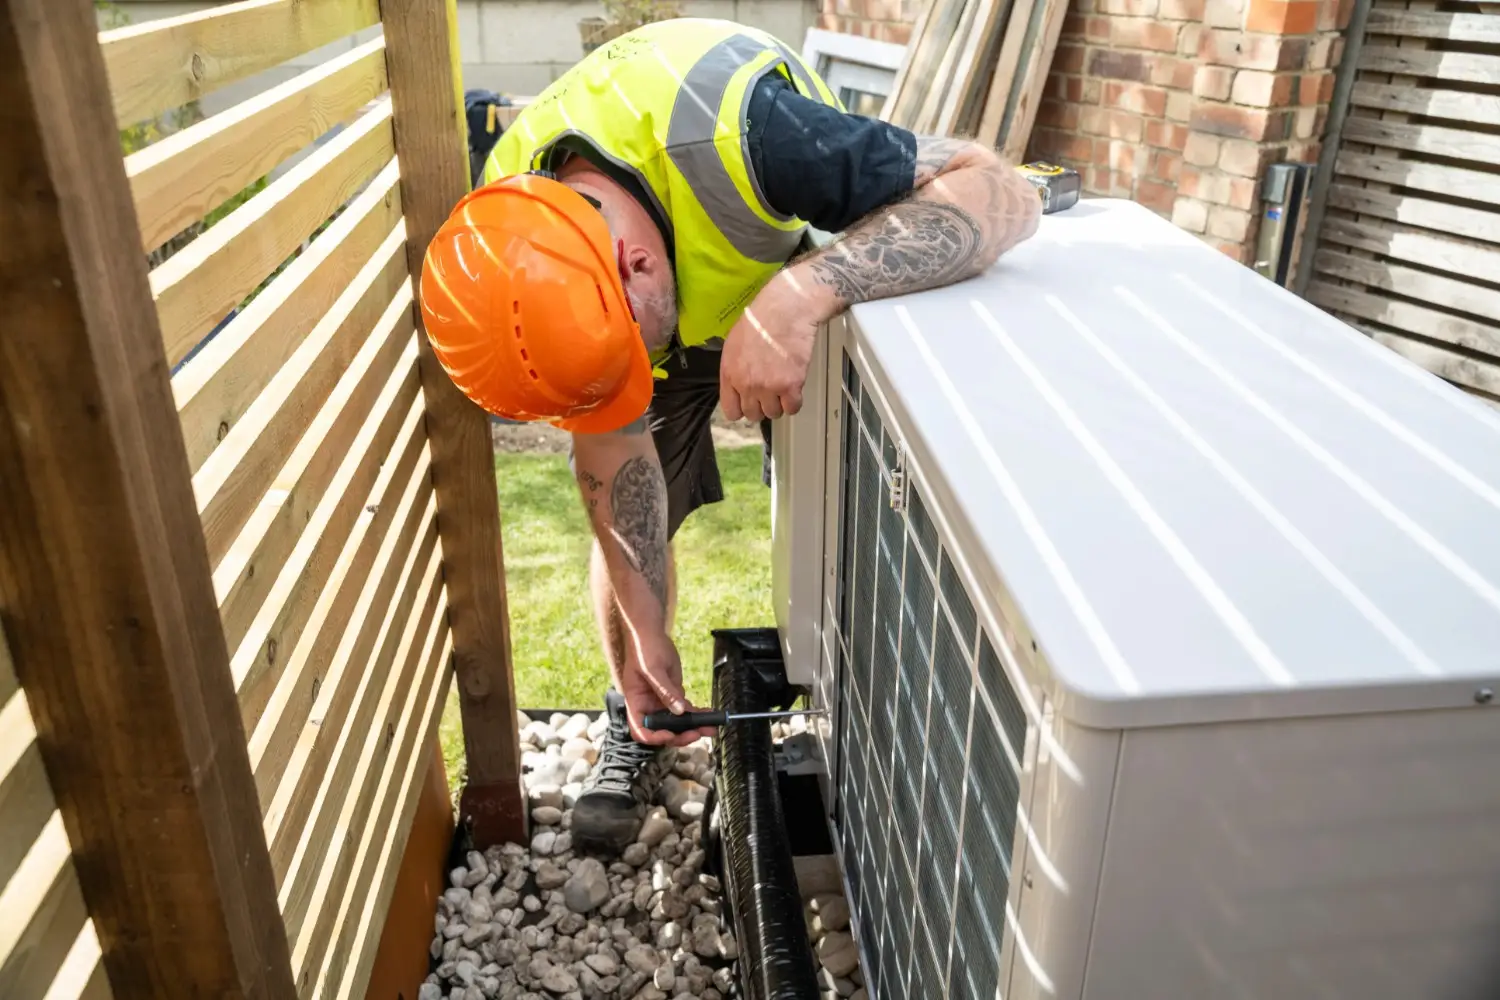
Step 1: How Your Old AC is Removed and New System Installed Outdoors
The physical swap happens in stages:
- Disconnecting: We remove the old copper refrigerant lines (the line set) and the "whip" (the flexible electrical conduit).
- Extraction: The old, heavy condenser is hauled away for proper recycling.
- Mounting: The new unit is positioned on the level pad, ensuring it has at least 12 to 24 inches of clearance from walls and shrubbery to allow for proper airflow.
- Reconnection: We install a new electrical whip and a new disconnect box if the old one shows signs of wear or doesn't meet current codes.
For a specific look at how we handle these projects in your neighborhood, view our Ultimate AC Installation Contractors Guide Gilbert AZ and our tips on Best Practices for AC Replacement. You can also learn more about the hardware itself on our AC Unit Replacement page.
Indoor Component Integration and Connections
While one team is working outside, another is usually inside handling the evaporator coil and air handler. This is the part of the system that actually "cools" the air by absorbing heat.
The Indoor Swap
We begin by extracting the old indoor coil. This often involves disconnecting the plenum (the box that connects the unit to your ductwork). We take this opportunity to perform a ductwork inspection. There is no point in installing a high-efficiency system if 20% of your cold air is leaking into the attic through a tear in the ducts.
Refrigerant Lines and Brazing
The indoor and outdoor units are connected by copper lines. We prefer to install a brand-new line set whenever possible. If we must reuse existing lines, we flush them extensively to remove old oil and contaminants. We connect these lines using a process called brazing—a high-temperature welding technique. During this, we perform a nitrogen purge, flowing nitrogen through the pipes to prevent oxidation (soot) from forming inside the lines, which could later clog the system.
Drainage and Safety
Modern systems remove a lot of humidity from the air. That moisture needs to go somewhere. We install new PVC drain lines and, in many cases, a secondary drain pan with a safety float switch. If the main drain ever clogs, the switch will automatically shut off the system before water can damage your ceiling or floor.
Efficiency Comparison
| Feature | Old Systems (10+ years) | New Modern Systems (May 2026) |
|---|---|---|
| Efficiency Rating | 10–13 SEER | 14.3–20+ SEER2 |
| Refrigerant | R-22 (Phased out) | R-410A or R-454B (Eco-friendly) |
| Blower Motor | Single-speed (On/Off) | Variable-speed (Precise airflow) |
| Sound Levels | 75–80+ decibels | As low as 50–60 decibels |
For more on these technical steps, visit our Guide to Professional AC Installation Steps and our AC Replacement Chandler AZ Complete Guide.
Testing, Calibration, and Performance Verification
Once the physical components are in place, we don't just flip a switch and leave. The "commissioning" phase is the most technical part of the day.
- The Vacuum Pull: We use a high-powered vacuum pump to remove all air and moisture from the refrigerant lines. Moisture is the enemy of an AC system; even a tiny drop can turn into acid when mixed with refrigerant and oil. We pull the system down to a specific "micron" level to ensure it is perfectly dehydrated and leak-free.
- Refrigerant Charge: We release the refrigerant into the lines and fine-tune the levels. An improper charge—even by just a few ounces—can reduce efficiency by up to 20% and put massive strain on the compressor.
- Airflow Calibration: We adjust the blower motor speeds to match your home’s specific ductwork requirements.
- The Temperature Differential: We measure the temperature of the air going into the return and coming out of the vents. A healthy system should show a "split" of about 16 to 20 degrees.
- Smart Integration: If we are installing a new smart thermostat, we help you connect it to your Wi-Fi and show you how to set up schedules for maximum savings.
This meticulous attention to detail is why we emphasize the Benefits of Expert AC Installation.
Post-Installation Walkthrough and Cleanup
We believe in leaving your home "exactly as we found it—but cooler!" Once the system is humming along perfectly, we begin the cleanup. This includes hauling away the old equipment, sweeping up any debris, and removing our floor protectors.
The final step is the homeowner walkthrough. We will show you:
- How to operate your new thermostat.
- Where your new air filters are located and how to change them (usually every 1–3 months).
- How the safety float switch works.
- What the outdoor unit sounds like during normal operation.
We also discuss a maintenance schedule. Your new system is a high-performance machine, and just like a new car, it needs regular tune-ups to maintain its warranty and efficiency. We’ll explain how our Cool Club maintenance plan can take that off your plate.
Frequently Asked Questions
How long does a typical AC replacement installation take?
For most homes in the Phoenix Valley, a standard replacement takes one business day (usually 6 to 10 hours). If your project requires extensive ductwork modifications or moving the unit to a different location (like moving it from the roof to the ground), it may take two days. We always aim to have your cooling restored by the time the sun goes down.
Are permits and inspections required for a new AC system?
Yes. Local building codes in cities like Peoria, Scottsdale, and Apache Junction require a mechanical permit for AC replacements. This ensures that a third-party municipal inspector verifies the electrical safety, drainage, and structural integrity of the installation. We handle the permit process for you to ensure everything is strictly "by the book."
What maintenance is needed after a new installation?
The most important task for a homeowner is changing the air filters every 30 to 90 days. Beyond that, you should keep the area around your outdoor condenser clear of weeds, leaves, and debris. We recommend a professional tune-up once a year—ideally in the spring—to check refrigerant levels, clean the coils, and ensure all electrical components are tightened and ready for the summer peak.
Conclusion
Replacing your air conditioner is a significant investment, but it’s also an opportunity to transform your home’s comfort and your monthly utility budget. By understanding how your old ac is removed and new system installed, you can move forward with confidence, knowing exactly what our expert team is doing at every stage.
At A & A Cooling & Heating LLC, we’ve been serving our neighbors in Apache Junction, Mesa, Gilbert, and across the Phoenix Valley since 1976. We take pride in our "customer-first" approach, offering tailored solutions and reliable maintenance to ensure your new system lasts for years to come.
Ready to experience the difference a professional installation makes? Contact us today for your AC Installation Apache Junction AZ and let us help you stay cool all year long.
Recent Posts

Customer Reviews

A & A is professional, fast, and honest. They have a hometown work ethic and take care of you almost like family! Dave is a great tech and I would recommend him to anyone. We had our AC go out and they came out and stayed past 7 pm to keep us cool on a day when temps were going to reach 105! THANK YOU!
Richard Champ

Excellent service, they are very dependable and upfront about the work. I would highly recommend this company for any heating or cooling issues. Being a snowbird it’s often scary finding reliable services, this is one company you can count on.
Kathy S

A & A is professional, fast, and honest. They have a hometown work ethic and take care of you almost like family! Dave is a great tech and I would recommend him to anyone. We had our AC go out and they came out and stayed past 7 pm to keep us cool on a day when temps were going to reach 105! THANK YOU!
Jamie S


Blogs
Stay updated with our latest blog posts.